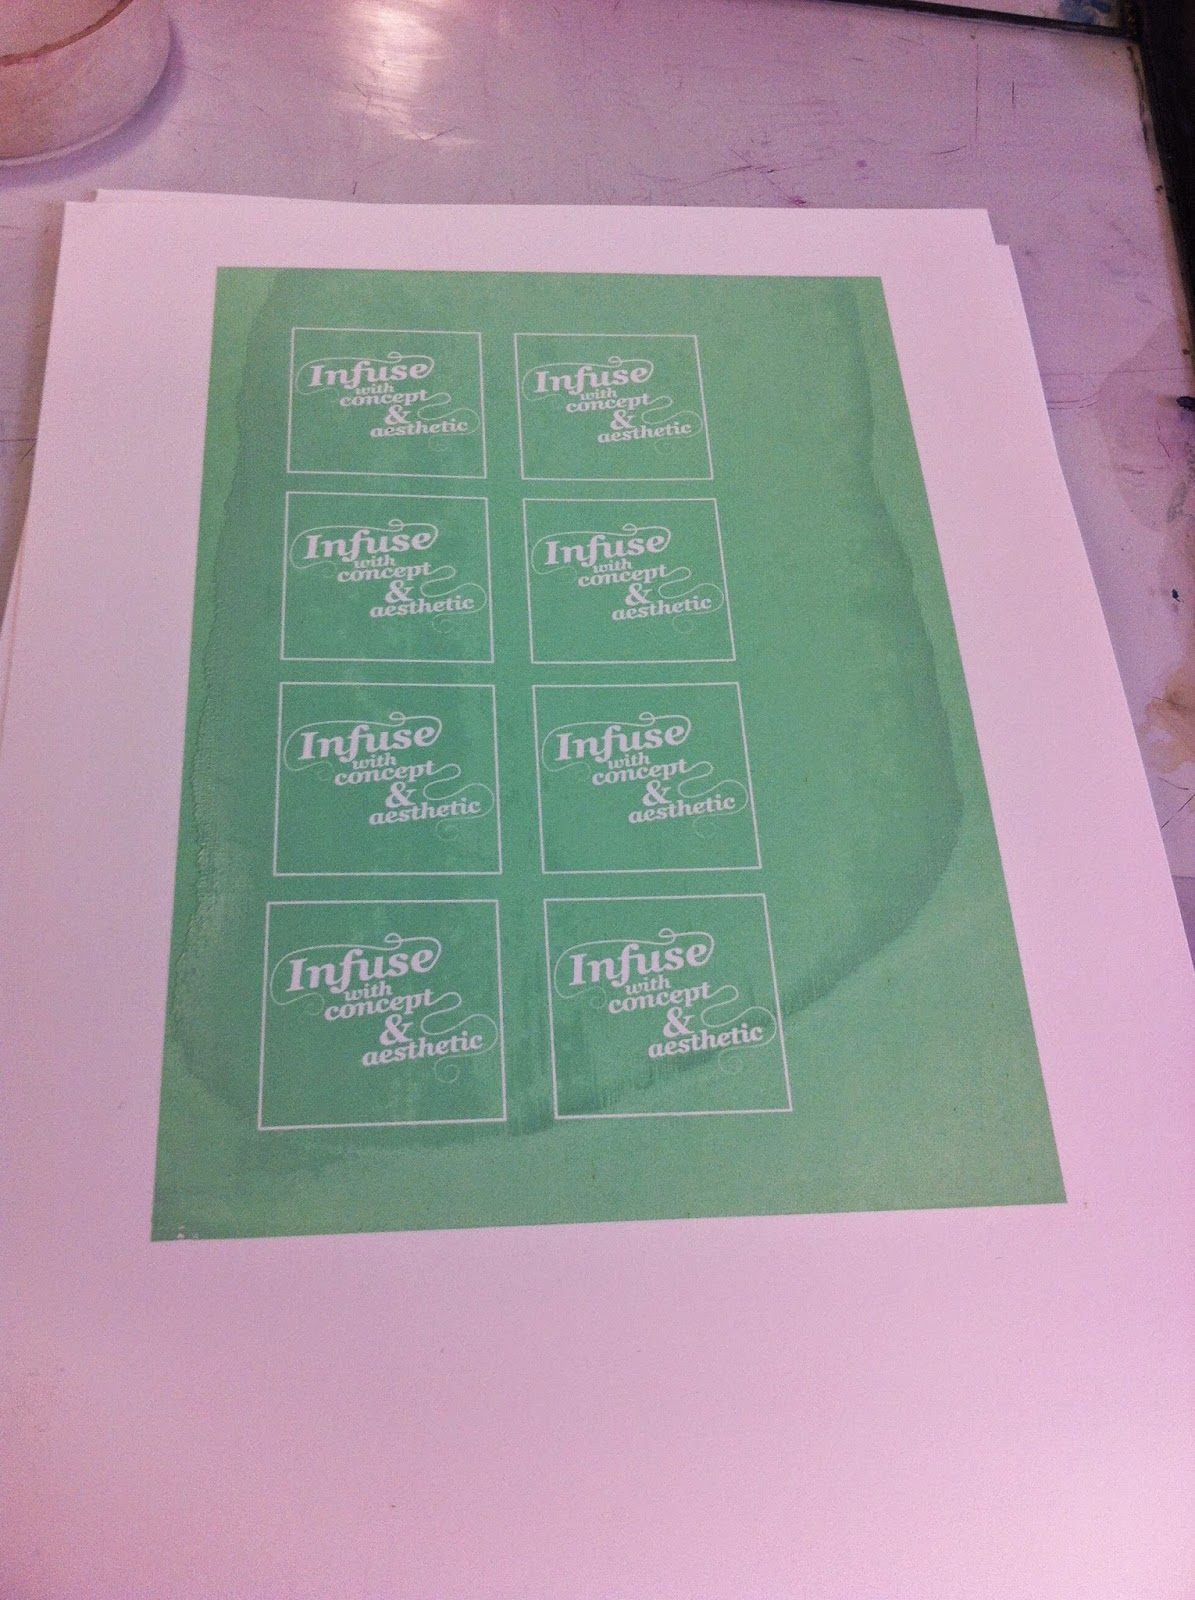
Once I had the positives printed I exposed a screen and started to mix the ink.

I started with a dark green and continued to add white and a light blue in small increments until I had achieved he closest match to the colour I had digitally selected.


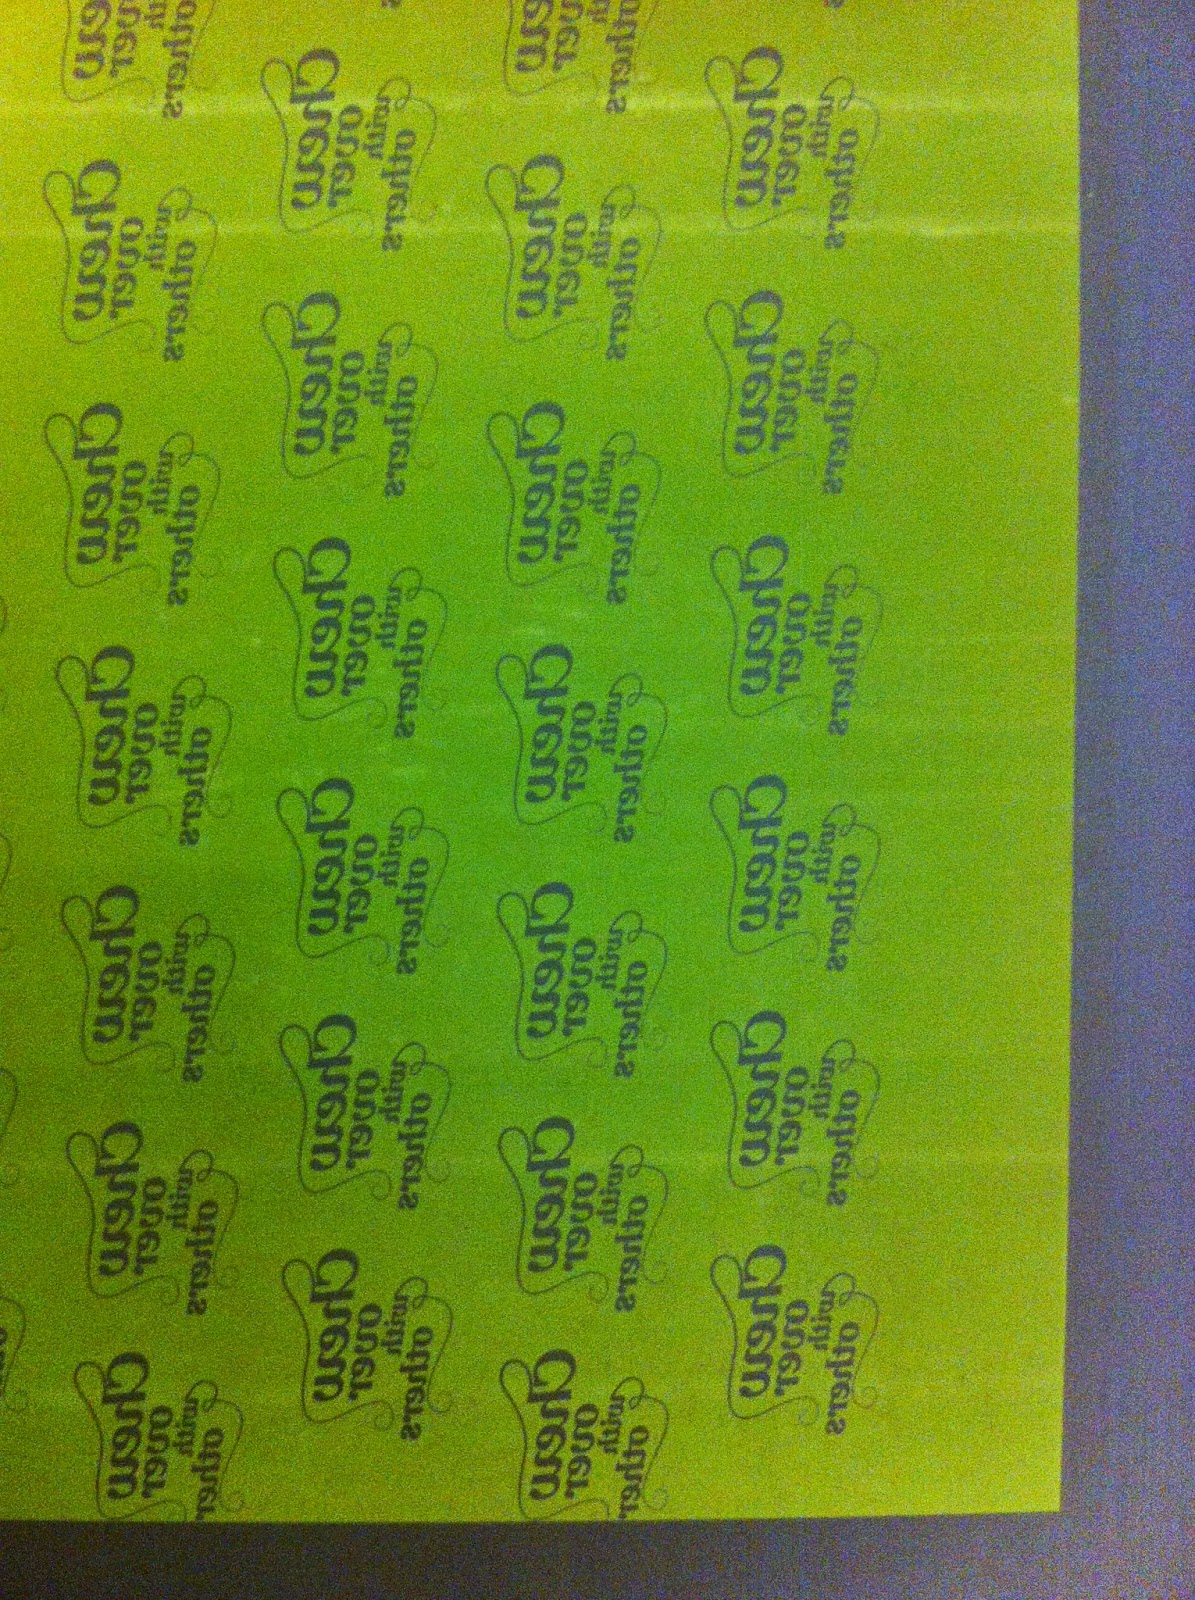
It took a very long time and a sample of the paper that I intended to print onto.

Something that I discovered was not only that mixing a precise green is incredibly difficult to create but that when printed and dried to colour get considerably darker than its appearance in the pot.

I exposed the screen twice because of the number of things I needed to print.
I included a reverse of the print shown above on the second exposure because after printing some of the other designs I found that it was a lot of green and this pattern for wrapping the flapjacks was perfect opportunity to reduce this.

There was a little difficulty with the delicate curls of the calligraphic flourishes, but after some work with the pressure washer they were cleared for printing.

Because the prints had such a large amount of flat colour of the ink it was difficult to achieve consistent colour. However, there were few prints that worked out and that is all I need.


I had a bit of trouble with the paper sticking to the screen and flooding back made the ink far too thick.


I was unsure if the ink I had mixed for the white paper print would look the same on the brown paper of the bag so I tested it out while my second screen was exposed.


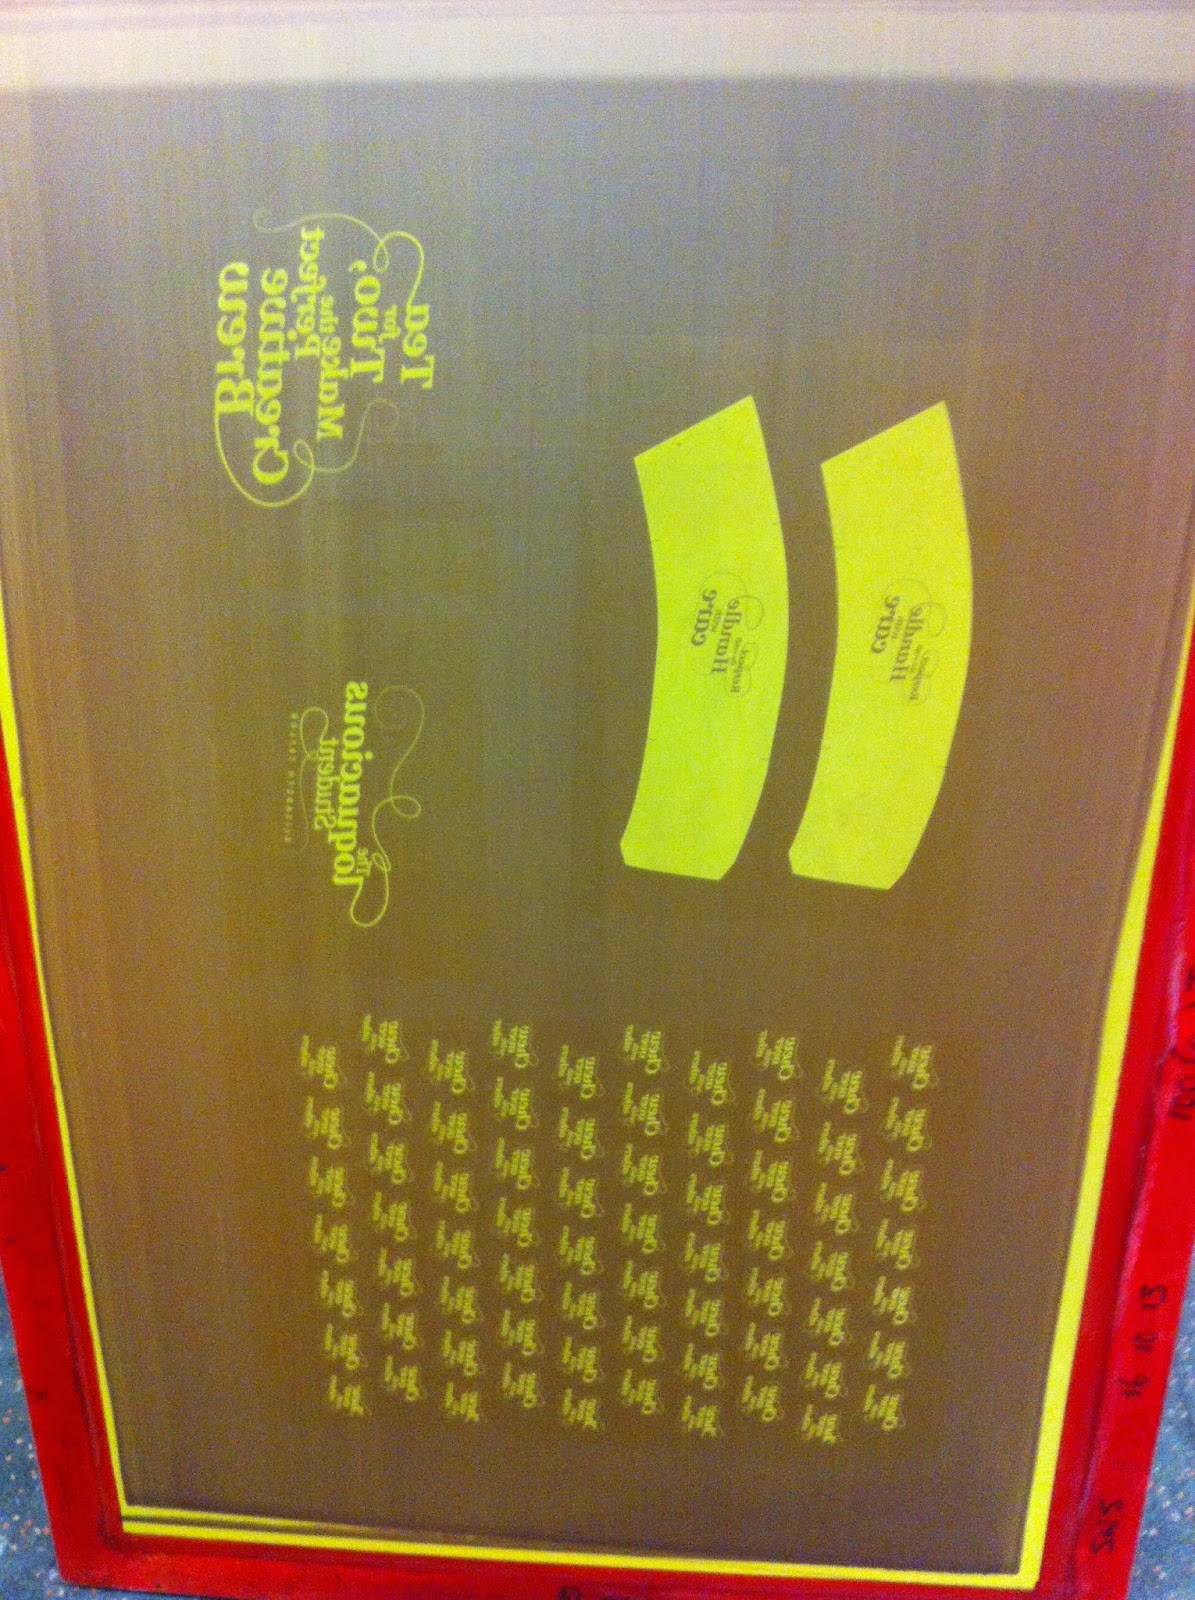
This is the second screen exposure with the paper bag designs and the coater and wrapping pattern.

Once the designs were printed I cut out everything and ensured that the cup sleeves were fitted to the cups that would form part of the pack.

When it came to the note book I wanted to bind it in a way that the pages could be torn out as the lists are finished.

So, I simply layered PVA glue onto the top of the book like the first half of the perfect bind process.

I then weighted and flat tent the book while it dried .

I tried a couple of times to cut out the coasters by hand with a scalpel but found that they just appeared too uneven. So, I used a circle which allowed me to use heavy card as the central piece to create that heavy 'coaster' feel. I used the circle cutter to create the guide groove in the card which I then followed by cutting by hand to get all the way through.
No comments:
Post a Comment